
You can create AI images of yourself by uploading a handful of clear reference photos to an AI image tool, then either training a custom model on your face or using prompt-based selfie generators that work from a single upload. Most people get usable results in under 30 minutes, though the quality depends heavily on which tool you pick and how good your source photos are.
What You Need Before You Start
Every AI image tool needs raw material to work with, and that means photos of your actual face. Most apps ask for 10 to 20 photos taken from different angles, in different lighting, and with different expressions. Skip filters, heavy makeup changes, or sunglasses, since the model needs to learn your real features, not a stylized version of them.
A few other things help before you begin. A stable internet connection matters if you’re using a cloud-based tool like Midjourney or DALL-E. If you’re going the custom-model route with something like Stable Diffusion, you’ll want either a decent GPU or credits for a hosted training service, since local training on an older laptop can take hours.
Best AI Tools for Creating Images of Yourself
Several tools handle this task differently, and picking the right one depends on how much control you want over the final result.
1. Midjourney
Midjourney produces some of the most polished, artistic AI portraits available, but it doesn’t have a built-in way to upload your face and generate lookalike images out of the box. Instead, people typically combine a reference photo with the –cref (character reference) parameter, which nudges the output toward matching facial structure and features. It works best in Discord or through the Midjourney website, and results tend to look painterly rather than photorealistic unless you push the style prompts toward “photo” or “DSLR.”
2. ChatGPT with Image Generation
OpenAI’s image tool inside ChatGPT lets you upload a photo of yourself directly and ask it to generate variations, such as placing you in a different setting, outfit, or art style. This approach is one of the more accessible options since there’s no separate training step. The trade-off is less fine-grained control over pose and expression compared to a dedicated model.
3. Selfie Apps Like Lensa and Remini
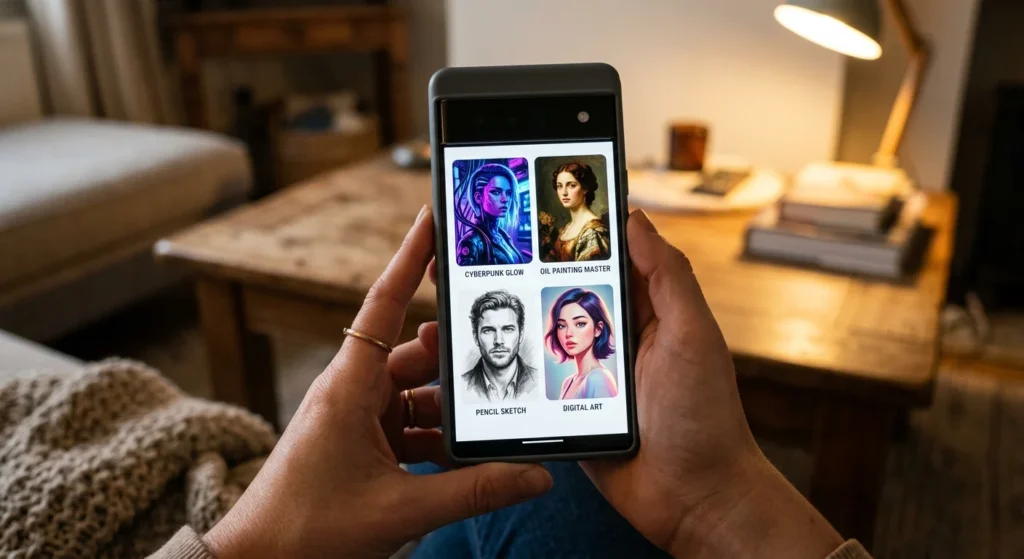
Apps built specifically for AI selfies, such as Lensa AI, ask you to upload a batch of photos and then train a small custom model on your face over 15 to 20 minutes. Once training finishes, you get dozens of stylized portraits ranging from fantasy art to professional headshots. These apps are the fastest route for people who just want finished images without touching prompts at all.
4. Stable Diffusion with a Custom LoRA
For the most control, some people train a LoRA (a lightweight custom model) on their own face using Stable Diffusion, either locally or through a hosted platform. This method takes more setup but produces images that hold up to closer scrutiny and can be reused with any prompt style going forward, not just preset templates.
Step-by-Step: Creating AI Images of Yourself
Once you’ve picked a tool, the process follows a similar pattern across most platforms.
1. Gather Your Reference Photos
Pull together 10 to 20 photos where your face is clearly visible and well-lit. Mix close-up shots with a few from the shoulders up, and include a range of expressions rather than the same smile in every frame. Avoid group photos or images where someone else’s face might confuse the model.
2. Upload and Start Training or Generating
If you’re using a selfie app, upload your batch and start the training process, which usually runs in the background while you do something else. If you’re using a prompt-based tool like ChatGPT or Midjourney, upload a single strong reference photo along with your written prompt.
3. Write a Clear Prompt
Describe the setting, lighting, clothing, and mood you want rather than just naming a vague style. A prompt like “professional headshot, soft studio lighting, navy blazer, neutral gray background” gives the model far more to work with than simply typing “make me look professional.”
4. Review and Regenerate
Most tools return multiple variations per request. Pick the ones closest to what you want, then either regenerate with small prompt tweaks or move on to light editing. It’s rare to get a perfect result on the first attempt, so plan for two or three rounds.
5. Download and Edit if Needed
Once you have a version you like, download it at the highest resolution the tool offers. Basic touch-ups in a free editor like Photopea can fix small issues like odd hands or background artifacts that AI tools sometimes still struggle with.
Tips for Getting Realistic Results
Lighting in your source photos makes a bigger difference than most people expect. Natural daylight from a window tends to produce cleaner training data than dim indoor lighting or harsh overhead lights. If your reference photos are all taken in similar lighting and from similar angles, the output often looks flatter and less varied.
Specificity in prompts also pays off. Instead of asking for “a nice photo of me,” describe the camera angle, the type of shot (portrait, three-quarter, full body), and the setting in detail. Tools like Midjourney and Stable Diffusion respond well to photography terms such as “85mm lens,” “shallow depth of field,” or “golden hour lighting.”
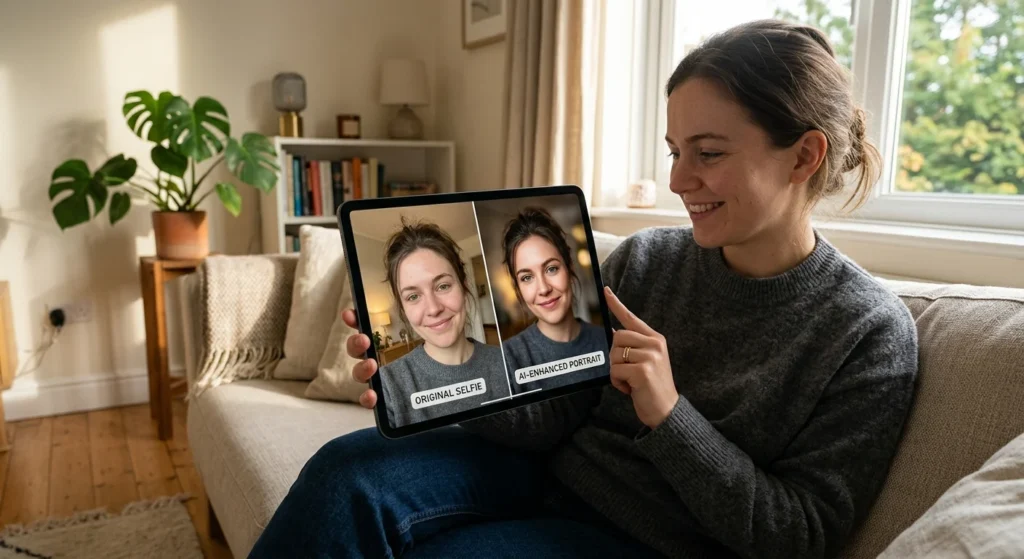
It also helps to generate in batches. Running the same prompt four or five times and picking the best result is far more efficient than trying to perfect a single generation through repeated edits.
Common Mistakes to Avoid
A lot of people upload photos that are too similar to each other, which limits how well the model learns different angles of the face. Using only front-facing selfies, for example, tends to produce odd results whenever the AI tries to generate a profile or three-quarter view.
Another common issue is expecting a single, vague prompt to carry all the creative weight. Generic prompts like “cool AI photo of me” leave too much up to chance. The more specific the description, the more consistent the results tend to be across multiple generations.
Skipping the review step is another mistake worth avoiding. AI-generated hands, teeth, and background details still glitch fairly often, even on well-regarded tools, so it’s worth a quick check before sharing or printing an image.
Is It Safe to Use AI Selfie Apps?
Privacy is a fair concern here, since you’re uploading real photos of your face to a third-party server. Before using any app, it’s worth checking its privacy policy for how long photos are stored and whether they’re used to train the company’s broader models. Some apps delete uploaded photos after processing, while others retain them, so this varies a lot by platform.
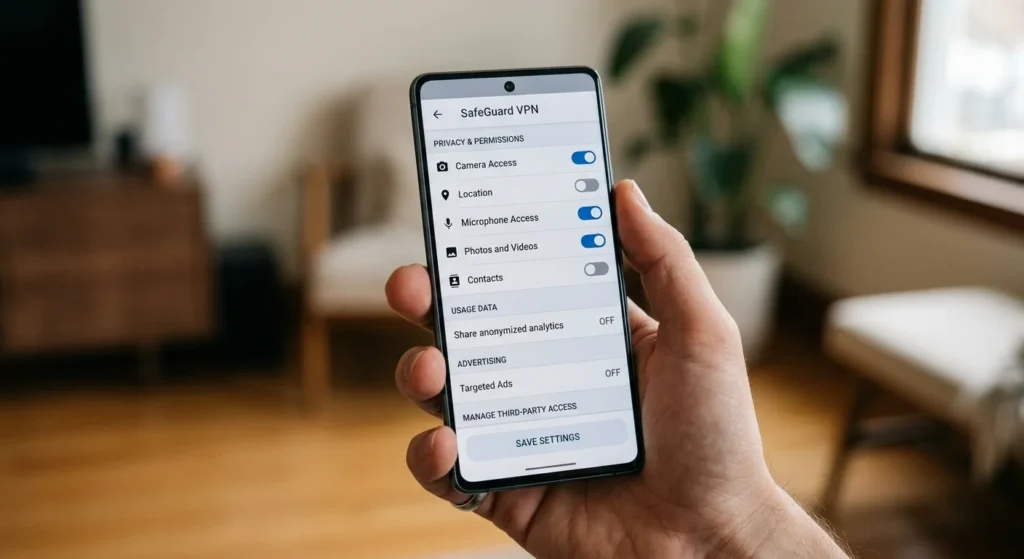
If privacy is a major concern, running Stable Diffusion locally on your own computer avoids sending photos anywhere at all, though it requires more technical setup than a mobile app. For most casual use, sticking to well-known apps with clear, published privacy policies is a reasonable middle ground.